I was cleaning out my clothes this weekend of the items that I did not wear this summer and I came across this skirt.


I didn't wear it this summer since it is a bit to short and sheer,but I saw other possibilities for it, so I kept it and started to cut it up. First I cut the waist band off.

I didn't cut the waistband since I have another idea for that which I will blog about at a later date.

I then marked a strip about 3" from the top of the ruffle with tailors chalk to guide me with my cutting.
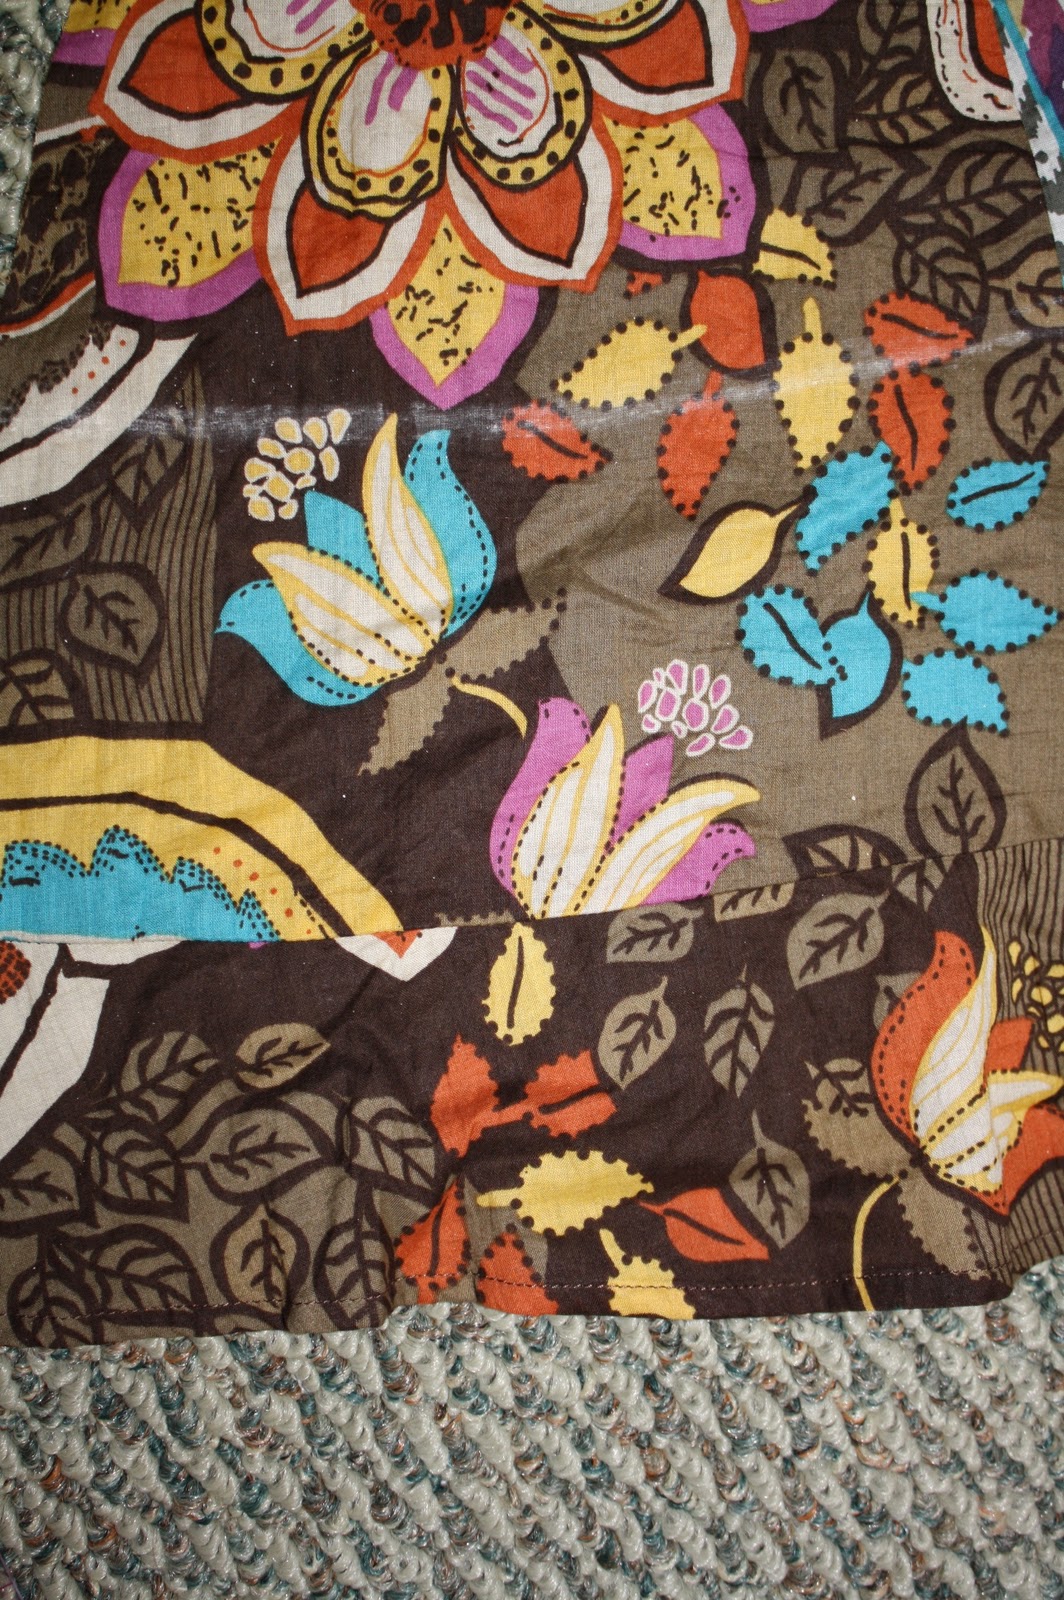
I cut and then hemmed the side,folding over twice to make it look like the bottom edge.

Lastly I ran it thru my sewing machine and gathered it as I went.

I wanted just a little bit of ruffle and I wanted it to be random. I think it looks great and I still have some leftover to make something else.

It was easy and cheap! Look in your closet and see what you can upcycle! Enjoy!
That's a great idea!
ReplyDeletegreat idea - -
ReplyDeleteSo smart and chic!!!
ReplyDeleteYou made it into a scarf. I admire your ingenuity! LOVE the fabric and the upcycle project. Thank you for the tutorial. It's very inspirational! ...and thank you so much for sharing it on the Boardwalk Bragfest!
ReplyDeletegreat idea!!!
ReplyDeleteGreat way to reuse the fabric. Thank you for sharing!
ReplyDeleteexcellent idea & fabulous results!!
ReplyDeleteLOVE IT! I did the same thing with a pair of pants which have been sitting in my "mend" pile for the past 12 years!(yeah,yeah, I know) Great idea to share! I didn't even think to do so!
ReplyDeleteSo creative and cute!
ReplyDeleteI really enjoyed this project. I have been crafting from my own closet too!
ReplyDeleteI just recently started blogging I would love for you to stop by!
www.cookieandclaire.blogspot.com
Congratulations Janet, your skirt upcycle made this week's Top 5 Hits. Come check it out, grab a blog button if you'd like, and thanks for such a fabulous idea!
ReplyDeleteThank you for all the lovely comments! They inspire me to keep creating!
ReplyDeleteI just saw this on Singing with the Birds and had to stop by. This is great! When I have a few more minutes this weekend, I want to visit your blog again and see what other creative ideas you have here!
ReplyDeleteOh gosh, i saw the skirt and honestly, i wish you'd called me first before you cut that one up. ha ha... I adore it.
ReplyDeletemaybe you are just a good picture-take-ster, and it's not as great as it looks on the photo...
so regardless, thank you for the skirt inspiration, regardless, and feather on your hat for upcycling it into something that you WILL use. we're all for that, at Fine Craft Guild, that is.
rose
I've got a horrible, baggy thrift store dress -- the fabric is, as my mother would have said, "a bit much" -- but it's intriguing enough that I think it'd be great as a ruffly scarf. Thanks for the inspiration!!!
ReplyDeleteI just clicked over from "Singing with Birds" and I'm so glad that I did -- I LOVE this idea! I have a dress that I just love, but that hasn't fit me right in years...I think that it's about time that I free this dress from the back of my closet and give it a new life. Thank you for sharing!
ReplyDelete